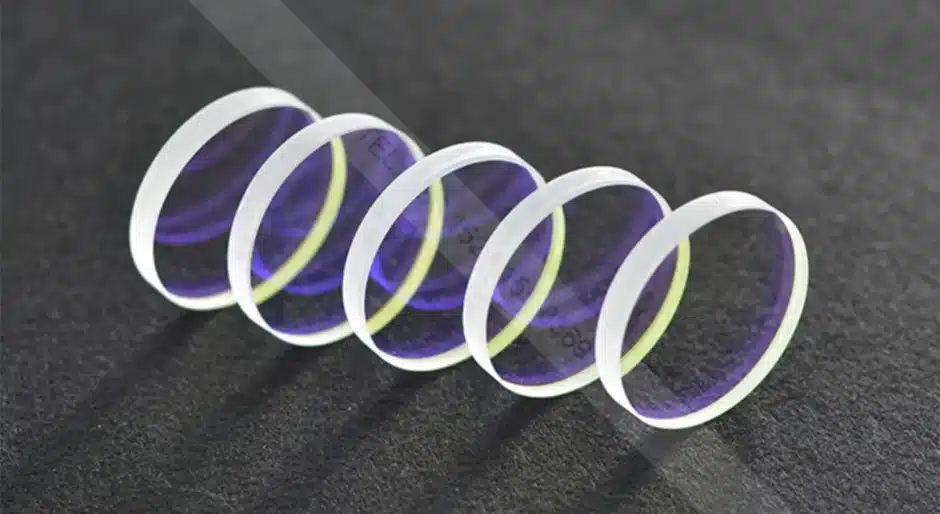
Maintaining the cleanliness of your laser cutting machine’s protective lens is critical for ensuring cutting precision and product quality. Contaminants like condensation, oil, or fingerprints can significantly impair performance. Here’s a professional, step-by-step guide designed for industrial operators and maintenance engineers:
Preparations — Five Key Precautions Before Cleaning
- Deactivate surrounding airflow
Prior to removing the protective lens, turn off all nearby air sources. Airflow during removal can drive dust into the cutting head, causing internal contamination. Keep the area around the lens window impeccably clean. - Handle the lens by its edges only
Avoid touching the lens surface or coating. Always hold the lens by the edge and place it gently on designated lens-wiping paper. - Avoid breathing toward the lens
Speak away from the lens to minimize airborne contamination entering the workspace. - Clean in a dust-free environment
Whenever possible, operate in a cleanroom or dust-controlled environment. Use anhydrous ethanol and a dry cotton cloth to restore lens clarity. - Use gloves when reinstalling the lens
Always wear powder-free finger cots or rubber gloves during reinstallation. Fingerprints can degrade lens transmission and cutting accuracy
Three Recommended Cleaning Methods
1. Light Dust Removal (Flexible Cleaning)
For lenses with loose dust:
- Use a blower bulb or clean compressed air to gently dislodge surface particles.
2. Removing Smudges or Fingerprints (Flexible Cleaning)
For cosmetic contamination:
- Dampen a new, clean lint-free wipe (e.g., lens tissue) with acetone or anhydrous ethanol.
- Gently sweep the lens surface, ensuring that fluid evaporates immediately behind the wiping motion.
3. Removing Oil or Stubborn Residue (Moderate Cleaning)
For greasy or persistent stains:
- Soak a clean cotton swab in 6% distilled white vinegar, then apply light pressure to the affected area.
- Use another clean dry swab to remove residual vinegar.
- Finally, wipe gently with a swab moistened with acetone to neutralize any remaining acidic residue.
Lens Replacement
If none of the above methods restores optimal clarity, replace the protective lens promptly to ensure continued cutting precision and product quality
Why This Guide Matters for Your Operations
- Enhances Cutting Accuracy
Prevents optical interference and maintains target tolerances. - Prolongs Equipment Longevity
Prevents internal contamination and damage to sensitive components. - Reduces Unplanned Downtime
Clean, well-maintained optics minimize service interruptions. - Supports ROI
Efficient operations with fewer production issues translate to cost savings.